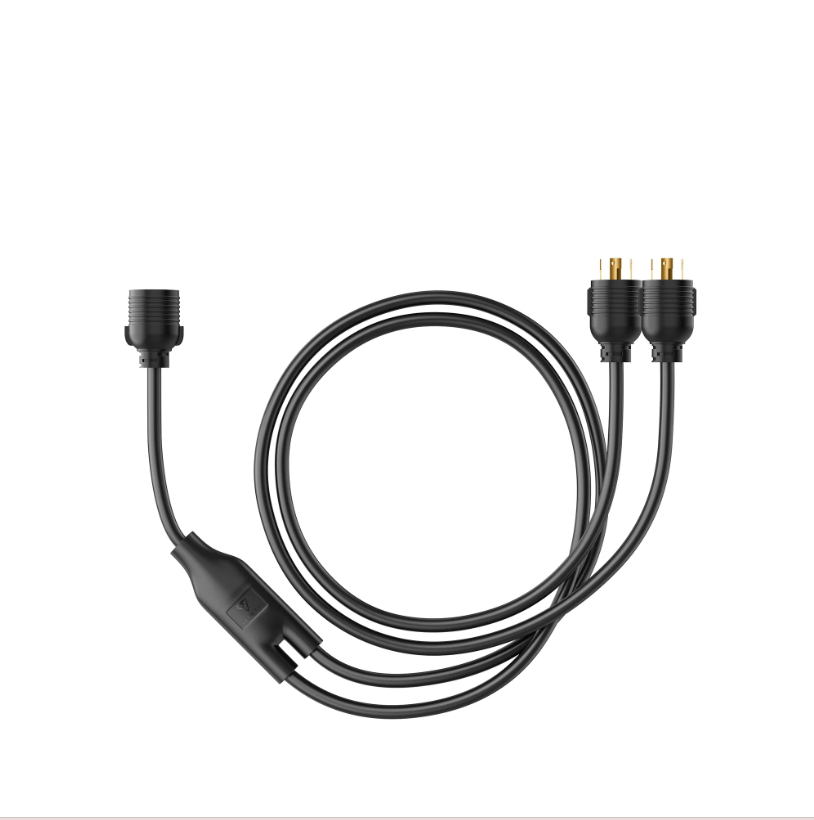
Transfer Switch via L14-30 AC output ports
Transfer Switch via L14-30 AC output ports
Couldn't load pickup availability
Key Points for Using an L14-30 with a transfer switch
Understanding the L14-30 Connector
-
L14-30P (Plug): Typically found on the generator’s output or extension cord (male end).
-
L14-30R (Receptacle): Found on the transfer switch inlet or adapter (female end).
-
Rated for 30 amps at 125/250V, delivering up to ~7,500 watts.
-
For continuous loads, plan around ~5,760 watts per NEC 2023 guidelines and the 80% ampacity rule.
-
Provides split-phase power: two 120V hot legs (X and Y), neutral (W), and ground (G).
-
This supports both 120V and 240V circuits.
-
However, 240V appliances may not work if the generator only outputs 120V.
Compatibility Check
-
Generator Output: Confirm your generator has an L14-30P output or a compatible port (e.g., TT-30R or L5-30P) that can be adapted to L14-30R.
-
If your generator has a different output (e.g., TT-30R, 3-prong 30A 120V), you’ll need an adapter like the AC WORKS TT-30P to L14-30R.
-
This bridges the hot wires to power both legs of the transfer switch.
-
Transfer Switch: Ensure the transfer switch has an L14-30P inlet (male) or L14-30R receptacle.
-
Most manual transfer switches (e.g., Reliance Controls Pro/Tran 2) use an L14-30 inlet for generator connection.
-
If you’re comparing options, note that an asco transfer switch is typically a different category and install style.
-
Wattage Match: The generator and inlet rating should match in amperage (30A) to avoid overloading.
-
Check that the generator’s continuous wattage (e.g., 6,000–7,500W) supports the circuits you plan to power.
-
Do a quick load transfer plan before an outage, especially for fridges, pumps, and HVAC.
Connection Process:
Step 1: Turn Off All Circuits
Before connecting, turn off all circuits in the transfer switch.
Turn off the main breaker in your electrical panel to prevent backfeeding or overloading.
Step 2: Connect the Generator
-
Use an L14-30P to L14-30R generator cord (e.g., Westinghouse 25 ft. 30A cord).
-
Plug the L14-30P (male) into the generator’s L14-30R outlet.
-
Plug the L14-30R (female) into the transfer switch’s L14-30P inlet.
-
For safety, seat the connector fully so the twist-lock engagement is secure.
Step 3: Start the Generator
Follow the generator’s startup procedure (e.g., choke, fuel valve, start).
Ensure it’s running stably before you continue.
Step 4: Switch to Generator Power
-
Turn on the transfer switch’s generator breaker.
-
Selectively activate the circuits you want to power, monitoring the load via wattage meters (if available).
-
This helps avoid exceeding the generator’s capacity during the transfer.
-
If you’re sharing setup notes with family, avoid confusing terms like wetransfer free for power transfer steps.
Orders are processed within 1-3 business days. Delivery typically takes 7-14 business days for domestic orders and 10-20 days for international shipments. Tracking information will be provided once your order ships.